breakfast+snacks / recipes / glutenfree / raw / vegan
How many times have you bought an energy bar and had it thinking that you were eating something really nutritious and…energetic? the big disappointment is that we usually get sold something small but full of sugars and conservants, among many other things, that in reality are very far away from being something healthy. It seems that the label “energy bar” automatically implies healthy energy. And that without considering the high prices of all these items.
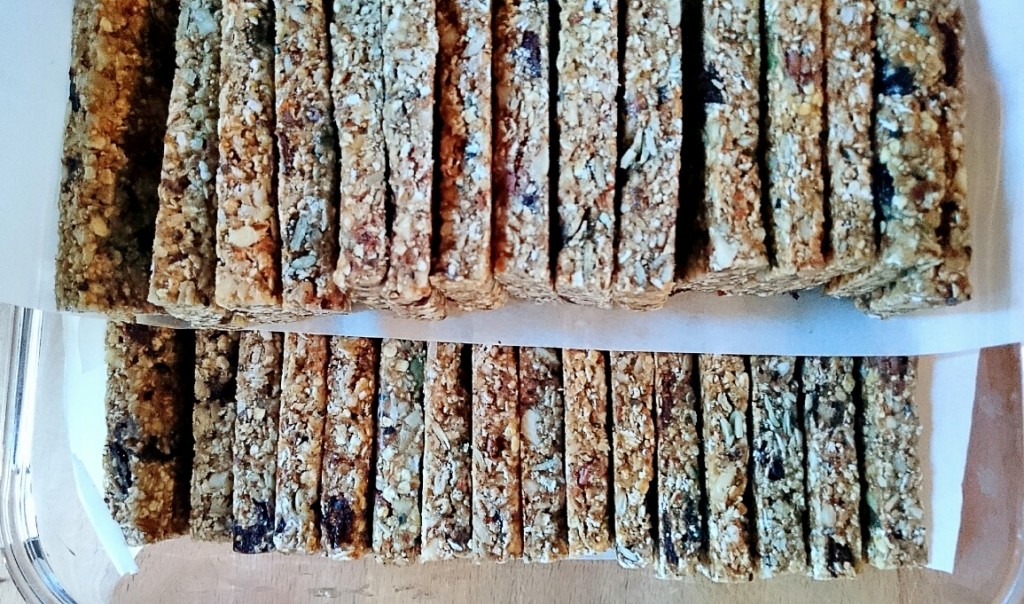
In this recipe, I have approximately calculated the cost of each bar: between 50 and 60 euro cents. if you follow all the instructions, you will get around 44 units. This will keep your freezer with enough stock and will ensure you to always have some for whenever you need them, either because you go on a trip, you set off on a bike or if suddenly your son is damn hungry and you find your fridge completely empty. It is VERY useful! You will know for sure that you are giving something that is packed with really nutritional stuff: cereal, seeds, coconut oil, grated coconut, dates, a bit of honey, syrup, rice malt or barley malt. This last one is a sweetener made through the process of soaking, germination, maceration, cooking and roasting of the chosen cereal. Very far away from any refined sugar and therefore, not so aggressive, it is digested very slowly and so, it helps you have your glucose levels in blood under control. And in a practical level, it is very useful because of its consistency which acts as a glue.

As far as the mix is concerned, the recipe is totally free and it is completely up to you. Only remember that it is necessary to observe the amount of dry solid (oats, nuts, seeds, coconut, cocoa nibs…) and the sugars, dates and coconut oil. But for example, if you just want one type of seeds, or only almonds or dry figs instead of the blueberries or mix oats, or if you would like to add some zest of citric fruits or cocoa, that is totally up to your imagination.
The recipes I habitually make consist of oats, germinated buckwheat (or dehydrated) and swollen amaranth. You can make by yourself the last one heating a pan and starting to make popcorn in batches. Yes, yes, they will get swollen as popcorn. But you will need to throw a spoonful every time, cover it and after 8 seconds, empty the pan on a plate. Maybe the first batch gets burnt but is a matter of practice. It is not necessary to make lots of them because the flavor is quite powerful. If you feel like experimenting, you could buy them already swollen, but remember that they get rancid very easily.
The recipe in itself is not too complicated, and once the dough has been frozen and cut, your stock will be ready! It is such the gratification that I really encourage you to try it. Somehow it creates a kind of feeling of independence from the big industry…
And besides that, they can be a great gift as everything that has been done at home with love.
Ingredients
270 gr of small gluten free oats
30 gr of popped amaranth
130 gr of various seeds of your choice
40 gr of shredded coconut
40 gr of dry blueberries or raisins
30 gr of cocoa nibs (optional)
1/2 tsp of cinnamon
1/2 tsp of salt
100 grams of maple syrup or rice malt
30 gr of honey
40 gr of coconut oil
115 gr of almond cream or tahini
430 gr of medjool dates (weighted with the pit)
Preparación
- Melt the coconut oil in a bain marie.
- Mix in a big bowl the 7 first ingredients.
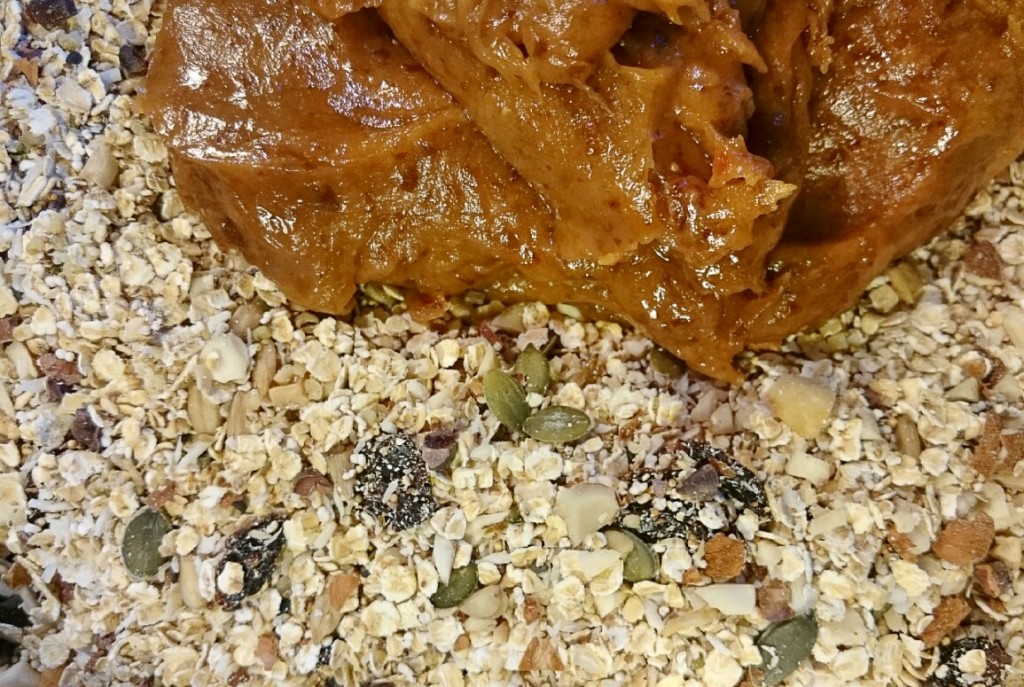
- Mix the rest in a food processor with the pitted dates till getting a sort of paste.
- Add it to the oats bowl and mix with your hands. It is a bit sticky but it is certainly the best way of doing it. When you think that it will be possible to make balls with a bit of dough, stretch the dough between two sheets of parchment paper of about 30 x 20 cm, till the thickness is approximately 7/8 mm. At the beginning you could press the dough with your wet hands and right after, put another parchment paper on the top and finish the stretching with a rolling pin. Put it over a tray and freeze it during one hour.
- Take it out and cut it into rectangles. Freeze it again and when they are completely frozen, keep them in a tupper or in a freezer bag. This way they will be always ready.

